
Smartphones have become the primary camera for millions of people around the world. From family gatherings and vacations to everyday moments, our phones store thousands of photos that capture memories we want to keep forever.
However, as the number of photos grows, so does the amount of storage they consume. Many users eventually encounter the frustrating notification that their phone storage is almost full. When that happens, the best solution is often to transfer photos from your phone to a hard drive.
Backing up photos to an external hard drive is one of the safest and most reliable ways to protect your memories while freeing up space on your device.
In this guide, we’ll explore several easy ways to transfer photos from your phone to a hard drive, along with helpful tips to ensure your files remain safe and organized.
Why You Should Back Up Photos to a Hard Drive
Before diving into the methods, it’s important to understand why transferring photos to a hard drive is such a good idea.
Protect Your Memories
Phones can be lost, damaged, or stolen. If your photos only exist on your phone, you risk losing them permanently.
A hard drive backup creates an additional copy that keeps your memories safe.
Free Up Phone Storage
High-resolution photos and videos can quickly fill up your phone’s storage.
Moving older files to a hard drive frees space for new photos and apps.
Easier Organization
Storing photos on a hard drive allows you to organize them into folders by year, event, or location.
This makes it much easier to find specific photos later.
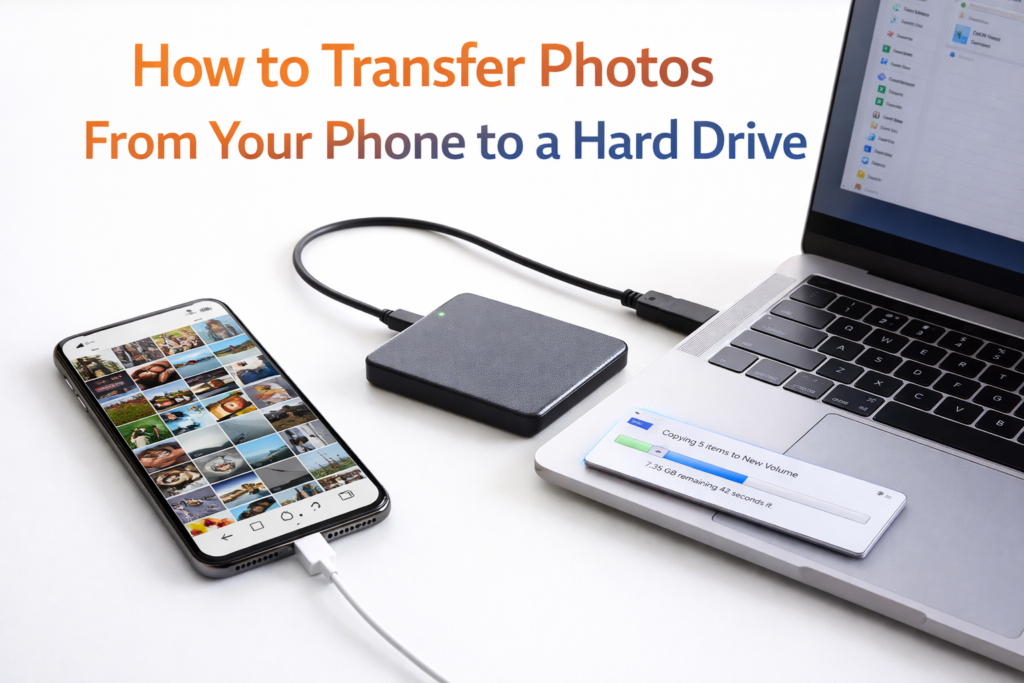
Method 1: Transfer Photos Using a USB Cable
One of the easiest ways to move photos from your phone to a hard drive is by using a USB cable.
This method works well for both Android phones and many modern smartphones.
Step-by-Step Guide
- Connect your phone to your computer using a USB cable.
- Unlock your phone and allow file access if prompted.
- Open your computer’s file manager.
- Locate your phone’s storage folder.
- Navigate to the DCIM or Photos folder.
- Copy the desired photos to your computer.
- Move the photos from your computer to your external hard drive.
Real-Life Example
Imagine you’ve just returned from a vacation with hundreds of photos on your phone. By connecting your phone to your computer, you can quickly copy all those images to a hard drive for safe storage.
Method 2: Transfer Photos Using Cloud Storage
Cloud storage services offer another convenient way to transfer photos.
These services automatically upload photos from your phone to online storage.
Once the photos are uploaded, you can download them to your hard drive.
Popular Cloud Options
Common cloud storage services include:
- Google Photos
- iCloud
- OneDrive
- Dropbox
How It Works
- Upload photos from your phone to cloud storage.
- Log in to the same account on your computer.
- Download the photos.
- Save them to your external hard drive.
Advantages of Cloud Storage
- Automatic backup
- Access from multiple devices
- Easy file sharing
This method is especially helpful if you prefer wireless transfers.
Method 3: Use a Memory Card or USB Flash Drive
Some smartphones support external storage devices like USB flash drives or memory cards.
These devices allow you to copy photos directly from your phone without needing a computer.
Steps to Transfer Photos
- Connect a USB flash drive to your phone using a compatible adapter.
- Open your phone’s file manager.
- Select the photos you want to transfer.
- Copy the files to the external storage device.
- Plug the device into your computer and move the files to your hard drive.
When This Method Is Useful
This approach is convenient when:
- You do not have access to a computer immediately.
- You want a quick way to move files between devices.
Method 4: Wireless File Transfer Apps
Another option is to use wireless file transfer apps that allow your phone and computer to communicate over Wi-Fi.
These apps can quickly transfer photos without needing cables.
How Wireless Transfers Work
- Install a file transfer app on your phone.
- Connect both your phone and computer to the same Wi-Fi network.
- Select the photos you want to send.
- Transfer them to your computer.
- Save the files to your hard drive.
Benefits of Wireless Transfers
- No cables required
- Quick setup
- Convenient for small batches of photos
ALSO READ…
- Truecaller Introduces Smart Scam Protection to Block Fraud Calls for Your Family
- Apple’s Foldable Future: What to Expect From the First Foldable iPhone in 2026
- Why Modern Computers No Longer Need Disc Drives
- How 5 Simple Tweaks Turned My Android Tablet Into a Chromebook Alternative
- The safest browsers for privacy in 2026
Tips for Organizing Photos on Your Hard Drive
Once you transfer your photos, proper organization makes it easier to find them later.
Create Folders by Year
For example:
- 2023 Photos
- 2024 Photos
- 2025 Photos
Organize by Events
Inside each year folder, you can create subfolders such as:
- Birthdays
- Vacations
- Family gatherings
Rename Important Photos
Giving meaningful names to important images helps identify them quickly.
For example:
“Paris_Vacation_2024.jpg”
Best Practices for Photo Backup
Backing up photos is important, but doing it correctly ensures maximum protection.
Keep Multiple Copies
Ideally, keep at least two backups:
- One on a hard drive
- One in cloud storage
Use Reliable Hard Drives
Choose high-quality external drives from trusted manufacturers to reduce the risk of data loss.
Backup Regularly
Instead of waiting until your phone storage is full, transfer photos regularly.
Monthly backups work well for many users.
Common Mistakes to Avoid
When transferring photos, avoid these common errors.
Deleting Photos Too Soon
Always confirm that photos have successfully copied to the hard drive before deleting them from your phone.
Not Checking File Transfers
After transferring files, open a few photos to ensure they copied correctly.
Ignoring Backup Organization
Without proper folders, thousands of photos can become difficult to manage later.
Final Thoughts
Our smartphones capture some of the most meaningful moments in our lives. From special occasions to everyday memories, photos often hold emotional value that we never want to lose.
Transferring photos from your phone to a hard drive is a simple yet powerful way to protect those memories while keeping your phone storage organized.
Whether you use a USB cable, cloud storage, wireless transfers, or external devices, creating regular backups ensures your photos remain safe for years to come.
Taking just a few minutes to back up your photos today can prevent the heartbreak of losing them tomorrow.
Frequently Asked Questions
How often should I transfer photos from my phone to a hard drive?
It’s recommended to back up photos at least once a month or whenever you capture a large number of new images.
Can I transfer photos directly from my phone to a hard drive?
Yes. With the right adapter or computer connection, many phones allow direct transfers to external storage devices.
Is cloud storage better than using a hard drive?
Cloud storage provides convenience and remote access, while hard drives offer physical control of your files. Many people use both for maximum safety.
What is the safest way to store photos long-term?
The safest approach is to keep multiple backups, including one on an external hard drive and another in cloud storage.
Will transferring photos reduce their quality?
No. Copying photos to a hard drive keeps the original file quality intact.
SHARING IS CARING 💖